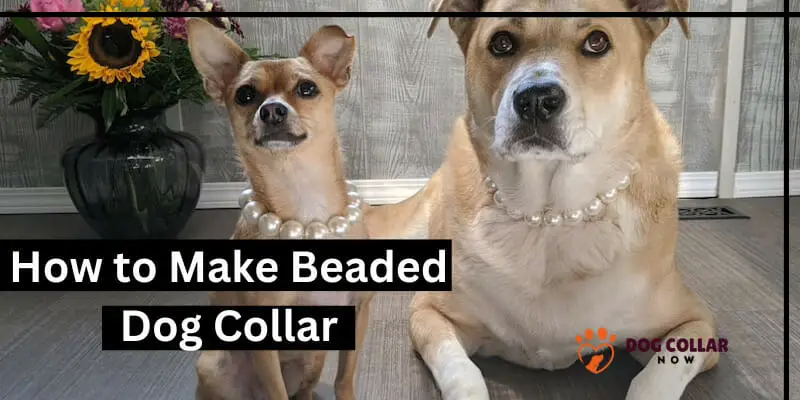
How to Make Beaded Dog Collar – 7 Effortless Procedures
Are you tired of the same old boring dog collars? Do you want to add a little bit of personality and flair to your furry friend’s wardrobe? Well, look no further than a DIY dog collar!
Not only is it a fun and creative project, but it also allows you to customize your pet’s collar with unique beads and patterns. To make a DIY cute collar, cut a sturdy collar base to fit your canine’s neck. Thread beads onto a needle and stitch them onto the collar base in your desired pattern. Secure the ends and ensure a comfortable fit for your dog.
In this step-by-step guide, we’ll show you everything on how to make beaded dog collar that will make your pup wag its tail in excitement. So let’s get started!
Step by Step Guide on How to Make Beaded Dog Collar
Here’s a step-by-step guide on how to make a personalized bead collar that will make your furry friend the talk of the town.
What you need for DIY beaded dog collar
Before you begin making your DIY bead collar, there are a few essential items that you will need.
- Choose the type of buckle you want to use for your collar – it can either be plastic or metal depending on your preference.
- Select the beads that you want to incorporate into the design of your collar – wooden pearls are highly recommended as they are durable and easy to work with.
- You will also need a strong thread that is suitable for beadwork such as nylon or waxed linen thread. It’s important to select a sturdy thread so that it can withstand any tugging or pull from your dog during their walks.
- Moreover, purchase some pliers and scissors which will come in handy when cutting and securing the end of the string.
If you wish to personalize the dog collar even further, consider adding a tag with their name or contact information in case they get lost. With all these materials at hand, let’s move on to creating our very own beautiful and unique DIY pet collar
The procedure:
Making a custom dog collar requires some creativity and patience. The process is not difficult, but it does require attention to detail. Here’s a step-by-step guide on how to make a personalized bead collar that will make your furry friend the talk of the town.
- Gather Supplies:
- Collect all the materials required for the DIY project, including wooden pellets, nylon thread, scissors, a buckle, and a tag (if desired).
- Measure and Cut:
- Use a tape measure to determine your pet’s neck size.
- Cut the nylon thread to the appropriate length, leaving extra for tying knots and attaching the buckle.
- Thread the Beads:
- Start threading the first bead onto the nylon thread, beginning where your design pattern will start.
- Continue adding beads, spacing them at half-inch intervals.
- Alternate between different colored wooden beads or other materials, if desired.
- Fold and Secure:
- Fold back three beads over the double nylon thread, along with both ends, at half-inch intervals.
- Ensure the collar is not too loose or too tight around your pet’s neck.
- Repeat the Pattern:
- Continue the threading and folding process until you reach the desired length or near where tags would hang, if applicable.
- Prepare the Buckle:
- Attach both ends of the nylon thread into each slot of the hook.
- Add extra double knots to secure everything tightly.
- Finishing Touches:
- Cut off any leftover nylon thread and tie knots securely at both ends.
- Test the collar’s comfort and wearability by gently pulling on it.
- Ensure the collar is comfortable for your pet without causing any discomfort or harm.
As a responsible dog owner, always prioritize your dog’s safety and well-being during the entire process. Don’t hesitate to consult experts or refer to additional resources to ensure a safe and enjoyable experience for your furry friend.
Safety concerns related to DIY beaded dog band
Safety concerns related to DIY beaded dog bands can include:
- Choking hazard from loose or breakable beads.
- Risk of ingestion and digestive issues.
- Potential allergic reactions to certain beads.
- Restriction of movement due to improper fit or tight beads.
- Entanglement risk with loose or dangling beads.
- Possibility of toxic materials in some beads.
- Lack of quality and durability compared to professionally made collars.
- Absence of essential safety features like quick-release mechanisms or reflectivity.
It’s important to prioritize the safety of your dog when creating or using DIY beaded dog bands, and considering professional alternatives or consulting with experts are advised to ensure the well-being of your pet.
Conclusion
There you have it, a beautiful and personalized beaded dog collar that your furry friend will love to wear. Making a DIY dog collar is not only fun but also allows you to create a unique piece for your pet.
Ensure that the materials used are comfortable and durable enough for the neck of your dog. It’s important not to leave your pooch unattended while wearing the collar.
With this step-by-step guide on how to make diy dog collars, you can experiment with different colors, patterns, and styles of beads until you find what works best for your pet. Don’t forget to add any tags or clasp at the end of the thread before tying it off!
Now go ahead and show off your crafting skills with a new beading design – making an amazing personalized dog collar that will make any pup look stylish!
FAQs:
What type of beads are best for making a beaded dog collar?
The best type of beads for making a DIY choker are sturdy and non-toxic beads such as wooden or plastic beads. These materials are durable and safe for your dog to wear. Avoid using small or delicate beads that can pose a choking hazard or break easily.
Can I use a pre-made collar as the base for my DIY collar?
Yes, you can use a pre-made collar as the base for your custom collar. Simply thread the beads onto the pre-existing collar, following your desired pattern, to customize and enhance its appearance.
How do I ensure that the beaded collar pattern fits my dog properly?
To ensure that the beaded collar fits your dog properly, measure your dog’s neck size accurately before starting the project. Leave enough length for tying knots and attaching the end hook. Test the collar’s fit on your dog, ensuring it is snug but not too tight or uncomfortable.
What materials do I need to make a collar from beads?
To make a DIY collar, you will need the following materials: beads, a nylon cord, a hook, a ruler or tape measure, scissors, and a lighter or matches. It’s important to choose appropriate beads for your fluffy friend – wooden beads or plastic beads are a good option as they won’t scratch your dog’s skin.
What is the best beading pattern for a dog collar?
There are many beading designs to choose from, but a simple pattern with wooden beads is recommended for a dog choker. Avoid using heavy or bulky beads that can irritate your dog’s neck. If you want to add a personalized touch to the collar, you can spell out your dog’s name with letter beads.
Can I use a beading pattern for a bracelet to make a dog collar?
While you can use a beading design for a bracelet to make a dog strap, it’s important to adapt the pattern to fit the size and comfort of your canine friend. Make sure to use appropriate-sized beads and adjust the length of the cord accordingly.
How do I attach the buckle to the custom dog band?
After stringing the beads onto the cord, slide one end of the cord through the bottom part of the buckle and fold it over itself. Use your scissors to cut the end of the cord and tie the ends then seal it with a lighter or matches to prevent fraying. Repeat on the other side of the cord with the top part of the buckle.
Can I make a dog collar using a collar beading pattern?
Yes, you can use simple bead patterns to create a beaded dog strap.